安装过程注意与避雷 本次DateWhale提供的Simulator环境基于Airsim(Unity)构建,因为本身以及提供了exe可执行文件所以首先考虑在windows上运行,但是因为用到的GroundingDINO代码库已经archived,然后涉及到的cuda版本可能也有点老旧,包括依赖的一些库,也有一些需要做处理,下面是一些需要特别注意的点:
构建groundingDINO时,因为setup.py里面有用到torch和cuda直接构建必须保证pytorch和cuda版本对应,参考我这里cuda为11.8,对应的torch版本为torch2.0.1+cu118
在构建时,如果报错,可以尝试隔离依赖--no-build-isolation,但是注意后面要把相关的依赖下回来
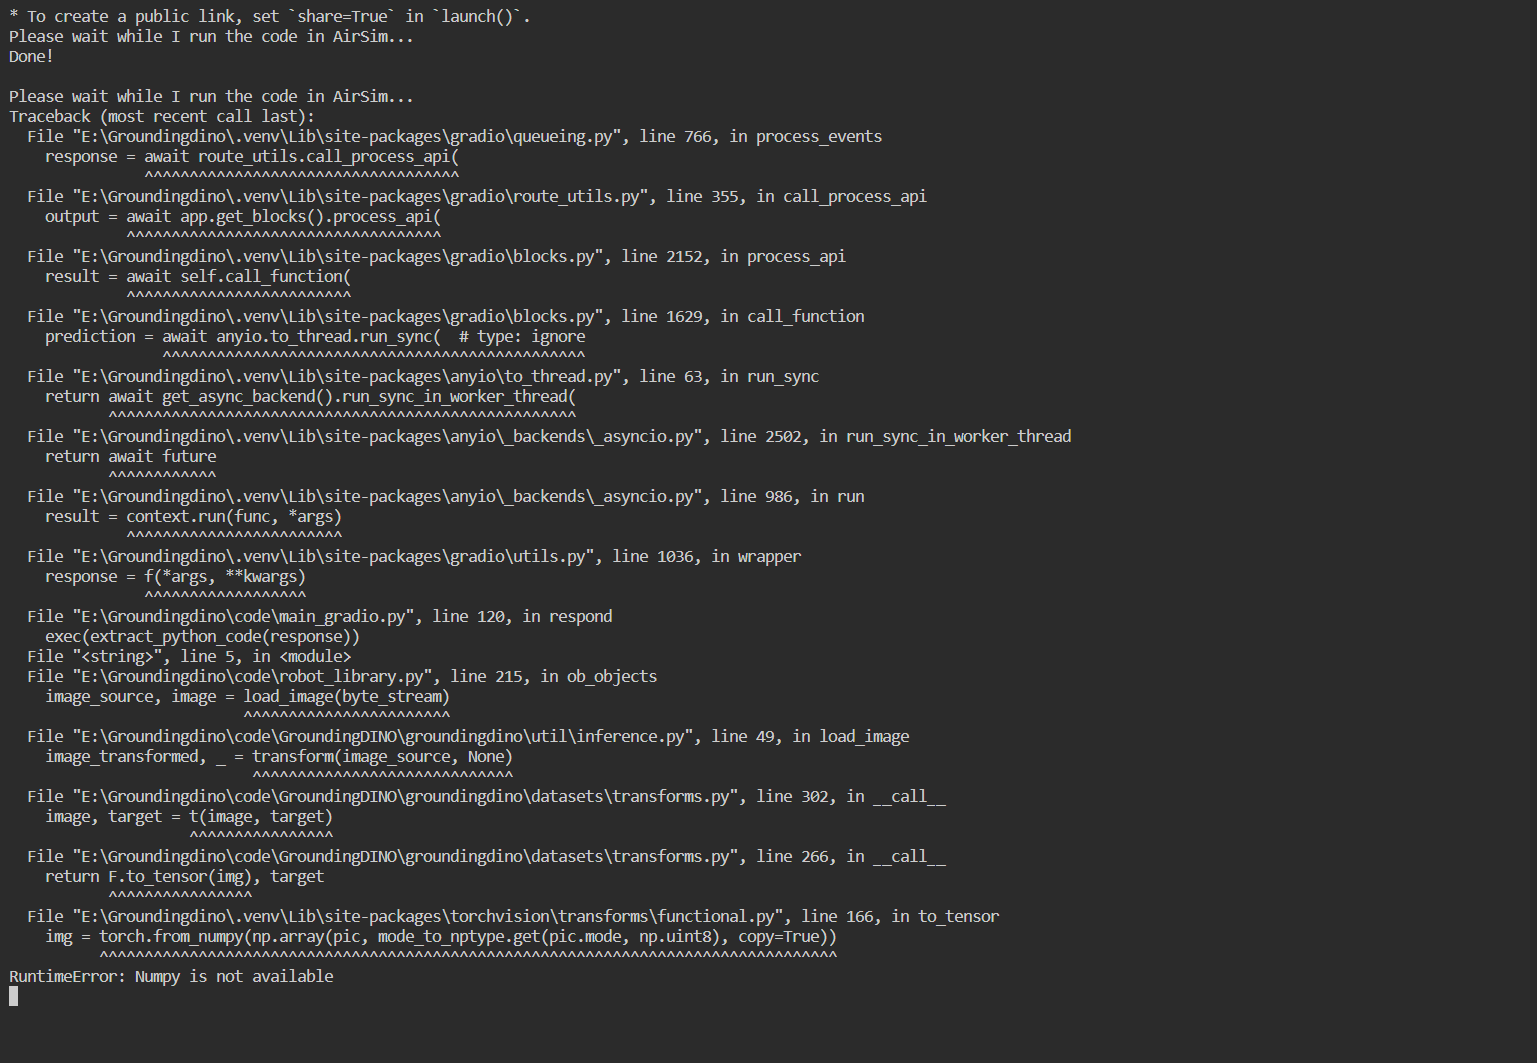
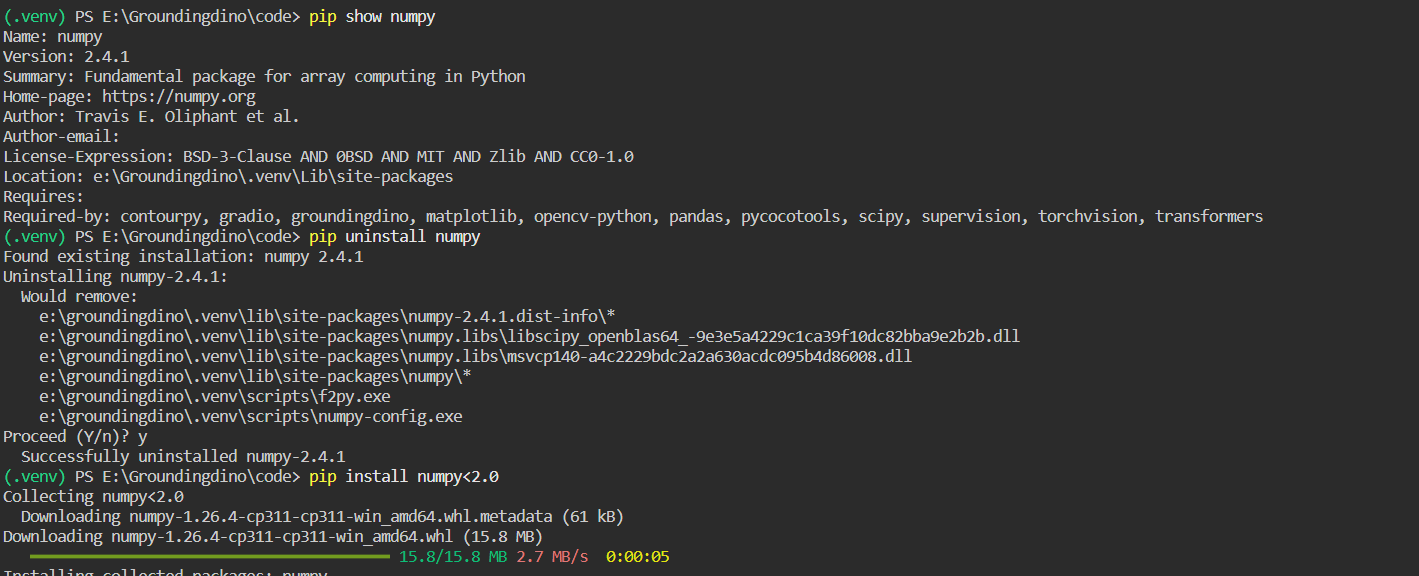
external-libraries中tornado4的代码有点问题,需要到pypi里面找到tornado4.5.3源代码替换,不然可能会报错No Module Named 'tornado4.util',因为原来的文件里面没有util文件对应torch版本较低的情况,比如像我这里的torch2.0.1+cu118,需要将Numpy降到1.X,通过pip install numpy<2.0
GroundingDINO GroundingDINO 是一个结合了 DINO(DEtection with Improved NOtations)和 Grounded Pre-Training 的开放集目标检测模型。它旨在通过将图像和文本对作为输入,实现对任何对象的检测和识别。注意这里的DINO不是指视觉自监督的DINO,而是DETR with Improved deNoising anchOr Boxes,通过 Transformer 解码器实现了图像和文本之间的跨模态对齐。GroundingDINO 的主要贡献在于将 DINO 的强大视觉特征提取能力与基于文本的 Grounded Pre-Training 相结合,从而实现了开放集目标检测的强大性能。DINO 在其中起到了关键作用,提供了高效的视觉特征提取和跨模态对齐能力,使模型能够灵活地根据语言提示检测任意目标。
LLM as a guided planner 理论上我们用LLM在最顶层做规划,所以无论用什么LLM都是可以的,只要遵循给出的prompt,所以我们略微修改一下main_gradio里的代码
1
2
3
4
5
6
7
8
9
10
11
12
13
14
15
16
17
18
19
20
21
22
23
24
25
26
27
28
29
30
31
32
33
34
35
36
37
38
39
40
41
42
43
44
45
46
47
48
49
50
51
52
53
54
55
56
57
58
59
60
61
62
63
64
65
66
67
68
69
70
71
72
73
74
75
76
77
78
79
80
81
82
83
84
85
86
87
88
89
90
91
92
93
94
95
96
97
98
99
100
101
102
103
104
105
106
107
108
109
110
111
112
113
114
115
116
117
118
119
120
121
122
123
124
125
126
127
128
129
130
import openaiimport reimport argparsefrom robot_library import *import mathimport numpy as npimport osimport jsonimport timeimport httpxfrom openai import OpenAIimport gradio as grparser = argparse.ArgumentParser() parser.add_argument("--prompt" , type =str , default="prompts.txt" ) parser.add_argument("--sysprompt" , type =str , default="system_prompts.txt" ) args = parser.parse_args() print ("Initializing ChatGPT..." )client = OpenAI(api_key="xxxxxx" , base_url="https://api.siliconflow.cn/v1" , http_client=httpx.Client(verify=False )) with open (args.sysprompt, "r" , encoding="utf-8" ) as f: sysprompt = f.read() chat_history = [ { "role" : "system" , "content" : sysprompt }, { "role" : "user" , "content" : "move 10 units up" }, { "role" : "assistant" , "content" : """```python aw.fly_to([aw.get_drone_position()[0], aw.get_drone_position()[1], aw.get_drone_position()[2]+10]) This code uses the `fly_to()` function to move the drone to a new position that is 10 units up from the current position. It does this by getting the current position of the drone using `get_drone_position()` and then creating a new list with the same X and Y coordinates, but with the Z coordinate increased by 10. The drone will then fly to this new position using `fly_to()`.""" } ] def ask (prompt ): chat_history.append( { "role" : "user" , "content" : prompt, } ) completion = client.chat.completions.create( model="deepseek-ai/DeepSeek-R1" , messages=chat_history, temperature=0 ) chat_history.append( { "role" : "assistant" , "content" : completion.choices[0 ].message.content, } ) return chat_history[-1 ]["content" ] print (f"Done." )code_block_regex = re.compile (r"```(.*?)```" , re.DOTALL) def extract_python_code (content ): code_blocks = code_block_regex.findall(content) if code_blocks: full_code = "\n" .join(code_blocks) if full_code.startswith("python" ): full_code = full_code[7 :] return full_code else : return None print (f"Initializing AirSim..." )aw = AirSimWrapper() print (f"Done." )with open (args.prompt, "r" , encoding="utf-8" ) as f: prompt = f.read() ask(prompt) print ("Welcome to the AirSim chatbot! I am ready to help you with your AirSim questions and commands." )def display_image (img ): im = cv2.imread("groundingdino.png" ) return im with gr.Blocks() as demo: gr.Markdown(""" # 无人机多模态大语言模型 无人机多模态大语言模型利用了Deepseek大语言模型+Grounding DINO的多模态开域识别功能,形成自我感知到自主行为的闭环。 1. Grounding DINO为开放识别大模型,可以返回环境中的各种物体的标签以及位置信息。 2. Deepseek根据Prompt处理用户输入,并自主生成无人机可执行的代码,完成相关任务。 """ ) with gr.Row(): with gr.Column(): chatbot = gr.Chatbot() msg = gr.Textbox() clear = gr.ClearButton([msg, chatbot]) def respond (message, chat_history ): response = ask(message) bot_message = response chat_history.append({"role" :"user" , "content" : message}) chat_history.append({"role" :"assistant" , "content" : bot_message}) code = extract_python_code(response) if code is not None : print ("Please wait while I run the code in AirSim..." ) exec (extract_python_code(response)) print ("Done!\n" ) return "" , chat_history msg.submit(respond, [msg, chatbot], [msg, chatbot]) with gr.Column(): img = gr.Image("datawhale.jpg" ) image_button = gr.Button("Display" ) image_button.click(display_image, inputs=img, outputs=img) demo.launch()
同时我们可以看到,在system_prompts中,告诉了LLM涉及到airsim的一些指令以及obj_name_list,所以如果指定的物体不在obj_name_list中,LLM会返回让你输入正确的物体
AirSim接口 在实际代码中,我们通过MultirotorClient与打开的house_win.exe进行通信,从而控制无人机。实际在里面比较重要的函数就是调用groundingDINO并且处理返回的结果,从而得到有效的指令
1
2
3
4
5
6
7
8
9
10
11
12
13
14
15
16
17
18
19
20
21
22
23
24
25
26
27
28
29
30
31
32
33
34
35
36
37
38
39
40
41
42
43
44
45
46
47
48
49
50
51
52
53
54
55
56
57
58
59
60
61
62
63
64
65
66
67
68
def ob_objects (self,obj_name_list ): """ 注意需要先执行get_image, 在图像 img 上运行对象检测模型,获得目标列表 [ <对象名称、距离、角度(以度为单位)>,...] :return:对象名称列表、对象信息列表、bbox图 """ TEXT_PROMPT = " | " .join(obj_name_list) imgbytes = cv2.imencode(".jpg" , self.img)[1 ].tobytes() byte_stream = io.BytesIO(imgbytes) image_source, image = load_image(byte_stream) boxes, logits, phrases = predict( model=self.dino_model, image=image, caption=TEXT_PROMPT, box_threshold=BOX_TRESHOLD, text_threshold=TEXT_TRESHOLD ) h, w, _ = image_source.shape boxes_unnorm = boxes * torch.Tensor([w, h, w, h]) boxes_xyxy = box_convert(boxes=boxes_unnorm, in_fmt="cxcywh" , out_fmt="xyxy" ).numpy() obj_locs = boxes_xyxy final_obj_list = [] index = 0 for bbox in obj_locs: center_x = int ((bbox[0 ] + bbox[2 ]) / 2 ) center_y = int ((bbox[1 ] + bbox[3 ]) / 2 ) depth_distance = self.img_depth_planar[center_y, center_x, ] camera_distance = self.img_depth_perspective[center_y, center_x] angel = math.acos(depth_distance / camera_distance) angel_degree = math.degrees(angel) if center_x < self.img.shape[1 ] / 2 : angel_degree = -1 * angel_degree obj_name = phrases[index] obj_info = (obj_name, camera_distance, depth_distance, angel_degree, center_x, center_y) final_obj_list.append(obj_info) index = index + 1 annotated_frame = annotate(image_source=image_source, boxes=boxes, logits=logits, phrases=phrases) final_result = [] for obj_info in final_obj_list: item = (obj_info[0 ], obj_info[1 ], obj_info[3 ]) final_result.append(item) return final_result
从图像到指令:目标检测与空间计算详解 ob_objects 函数是整个无人机感知系统的核心,它负责将原始图像转换为可供 LLM 决策的结构化目标信息。以下是其完整的工作流程:
1. 构建文本提示词(Text Prompt)
1 TEXT_PROMPT = " | " .join(obj_name_list)
将系统预设的对象名称列表(如 ["chair", "table", "yellow duck"])用 " | " 连接成 GroundingDINO 可识别的提示词格式。这种格式让模型能够同时检测多个类别的目标。
2. 图像编码与预处理
1
2
3
imgbytes = cv2.imencode(".jpg" , self.img)[1 ].tobytes() byte_stream = io.BytesIO(imgbytes) image_source, image = load_image(byte_stream)
cv2.imencode 将 OpenCV 读取的 BGR 图像编码为 JPG 字节流load_image 将字节流转换为 PIL Image 和 PyTorch Tensor,供模型推理使用image_source 是原始 PIL 图像,用于后续可视化;image 是模型输入的张量
3. GroundingDINO 目标检测
1
2
3
4
5
6
7
boxes, logits, phrases = predict( model=self.dino_model, image=image, caption=TEXT_PROMPT, box_threshold=BOX_TRESHOLD, text_threshold=TEXT_TRESHOLD )
boxes: 检测框坐标,格式为 (cx, cy, w, h) 的归一化坐标(0-1范围)logits: 每个检测框的置信度分数phrases: 检测到的对象类别名称BOX_TRESHOLD 和 TEXT_TRESHOLD 分别是检测框和文本匹配的阈值,过滤低置信度结果
4. 坐标格式转换
1
2
3
h, w, _ = image_source.shape boxes_unnorm = boxes * torch.Tensor([w, h, w, h]) boxes_xyxy = box_convert(boxes=boxes_unnorm, in_fmt="cxcywh" , out_fmt="xyxy" ).numpy()
转换步骤
说明
反归一化
将 [0,1] 范围的相对坐标乘以图像宽高,得到像素级坐标
格式转换
cxcywh (中心点+宽高) → xyxy (左上角+右下角)
转换后 boxes_xyxy 的形状为 [[xmin, ymin, xmax, ymax], ...],便于计算目标中心点。
5. 距离计算:深度图的作用
1
2
3
4
5
center_x = int ((bbox[0 ] + bbox[2 ]) / 2 ) center_y = int ((bbox[1 ] + bbox[3 ]) / 2 ) depth_distance = self.img_depth_planar[center_y, center_x] camera_distance = self.img_depth_perspective[center_y, center_x]
AirSim 提供两种深度图:
img_depth_planarimg_depth_perspective
两者的几何关系如图所示:
1
2
3
4
5
6
7
8
9
目标物体 * /| / | 欧氏距离 | Z轴深度 (planar) / | / | *-----+ 相机
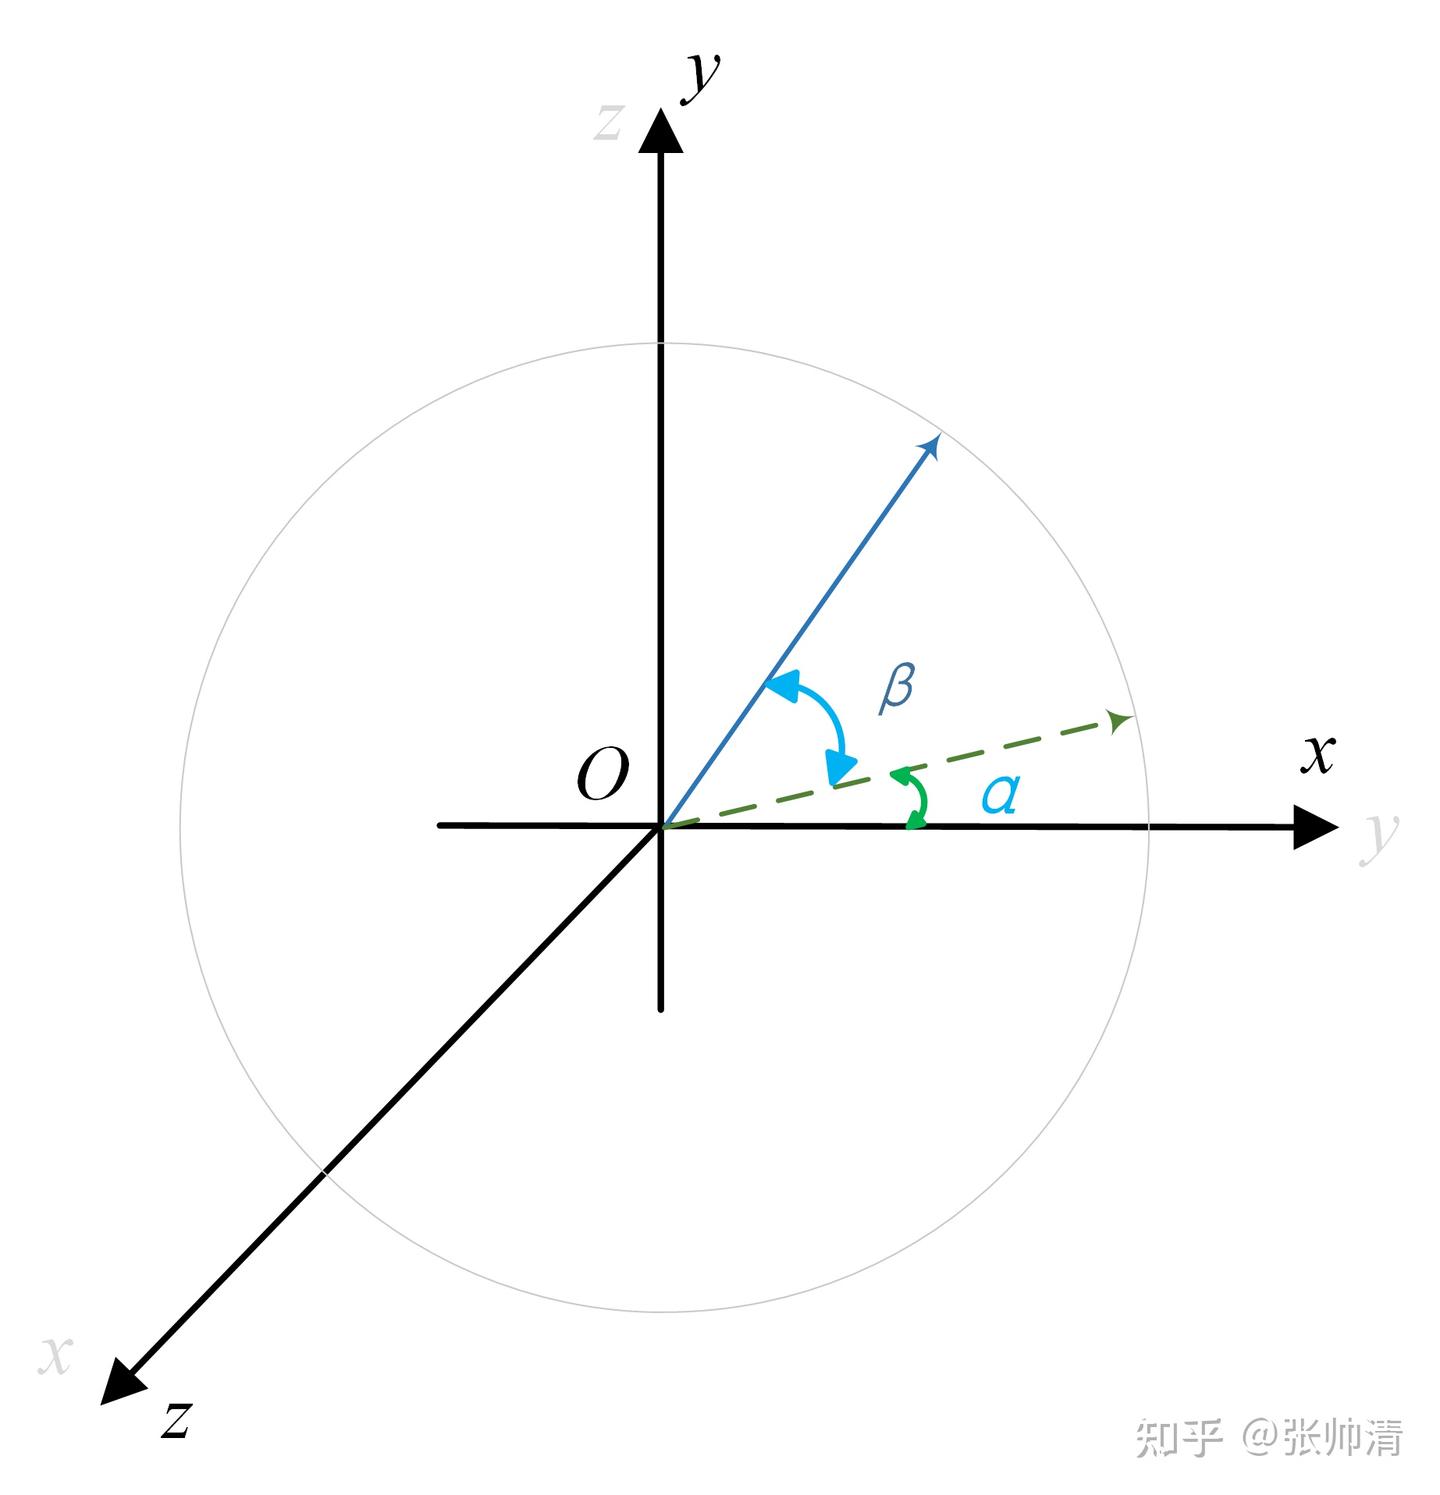
6. 角度计算:确定水平方向
1
2
3
4
5
6
angel = math.acos(depth_distance / camera_distance) angel_degree = math.degrees(angel) if center_x < self.img.shape[1 ] / 2 : angel_degree = -1 * angel_degree
利用三角函数关系计算偏航角:
cos(θ) = 邻边 / 斜边 = depth_distance / camera_distanceθ = arccos(depth_distance / camera_distance)
图像坐标与转向关系:
目标在图像左侧 (center_x < width/2):无人机需要向左转 ,角度为负值
目标在图像右侧 :无人机需要向右转 ,角度为正值
7. 结果结构化
1
2
obj_info = (obj_name, camera_distance, depth_distance, angel_degree, center_x, center_y) final_result.append((obj_name, camera_distance, angel_degree))
最终返回的 final_result 是一个列表,每个元素为:
1
2
3
(obj_name: str , camera_distance: float , angel_degree: float )
8. 可视化反馈
1 annotated_frame = annotate(image_source=image_source, boxes=boxes, logits=logits, phrases=phrases)
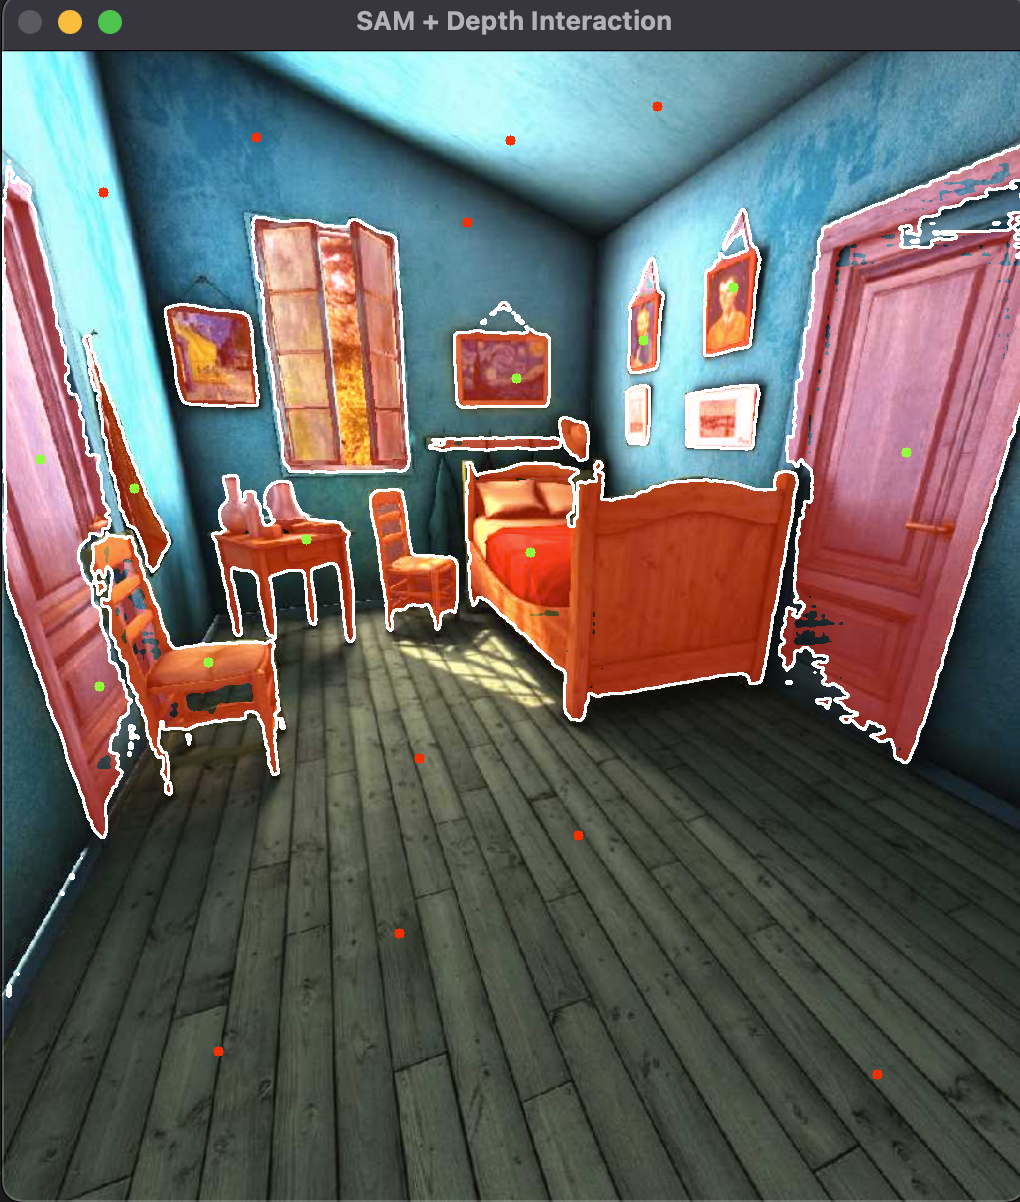
生成带检测框和标签的标注图像,保存为 groundingdino.png,供 Gradio 界面显示和调试使用。
完整数据流总结
1
2
3
4
┌─────────────┐ ┌──────────────┐ ┌─────────────┐ ┌──────────────┐ │ 原始图像 │ → │ GroundingDINO │ → │ 深度图查询 │ → │ 结构化结果 │ │ + 文本提示 │ │ 目标检测 │ │ + 角度计算 │ │ (距离+方向) │ └─────────────┘ └──────────────┘ └─────────────┘ └──────────────┘
这个流程让 LLM 能够理解环境中的目标分布,例如:
“yellow duck 在 5.2 米、偏左 15 度方向” → LLM 生成 turn_left(15) 和 move_forward(5.2) 指令
“coca cola 在 3.8 米、偏右 30 度方向” → LLM 生成 turn_right(30) 和 move_forward(3.8) 指令
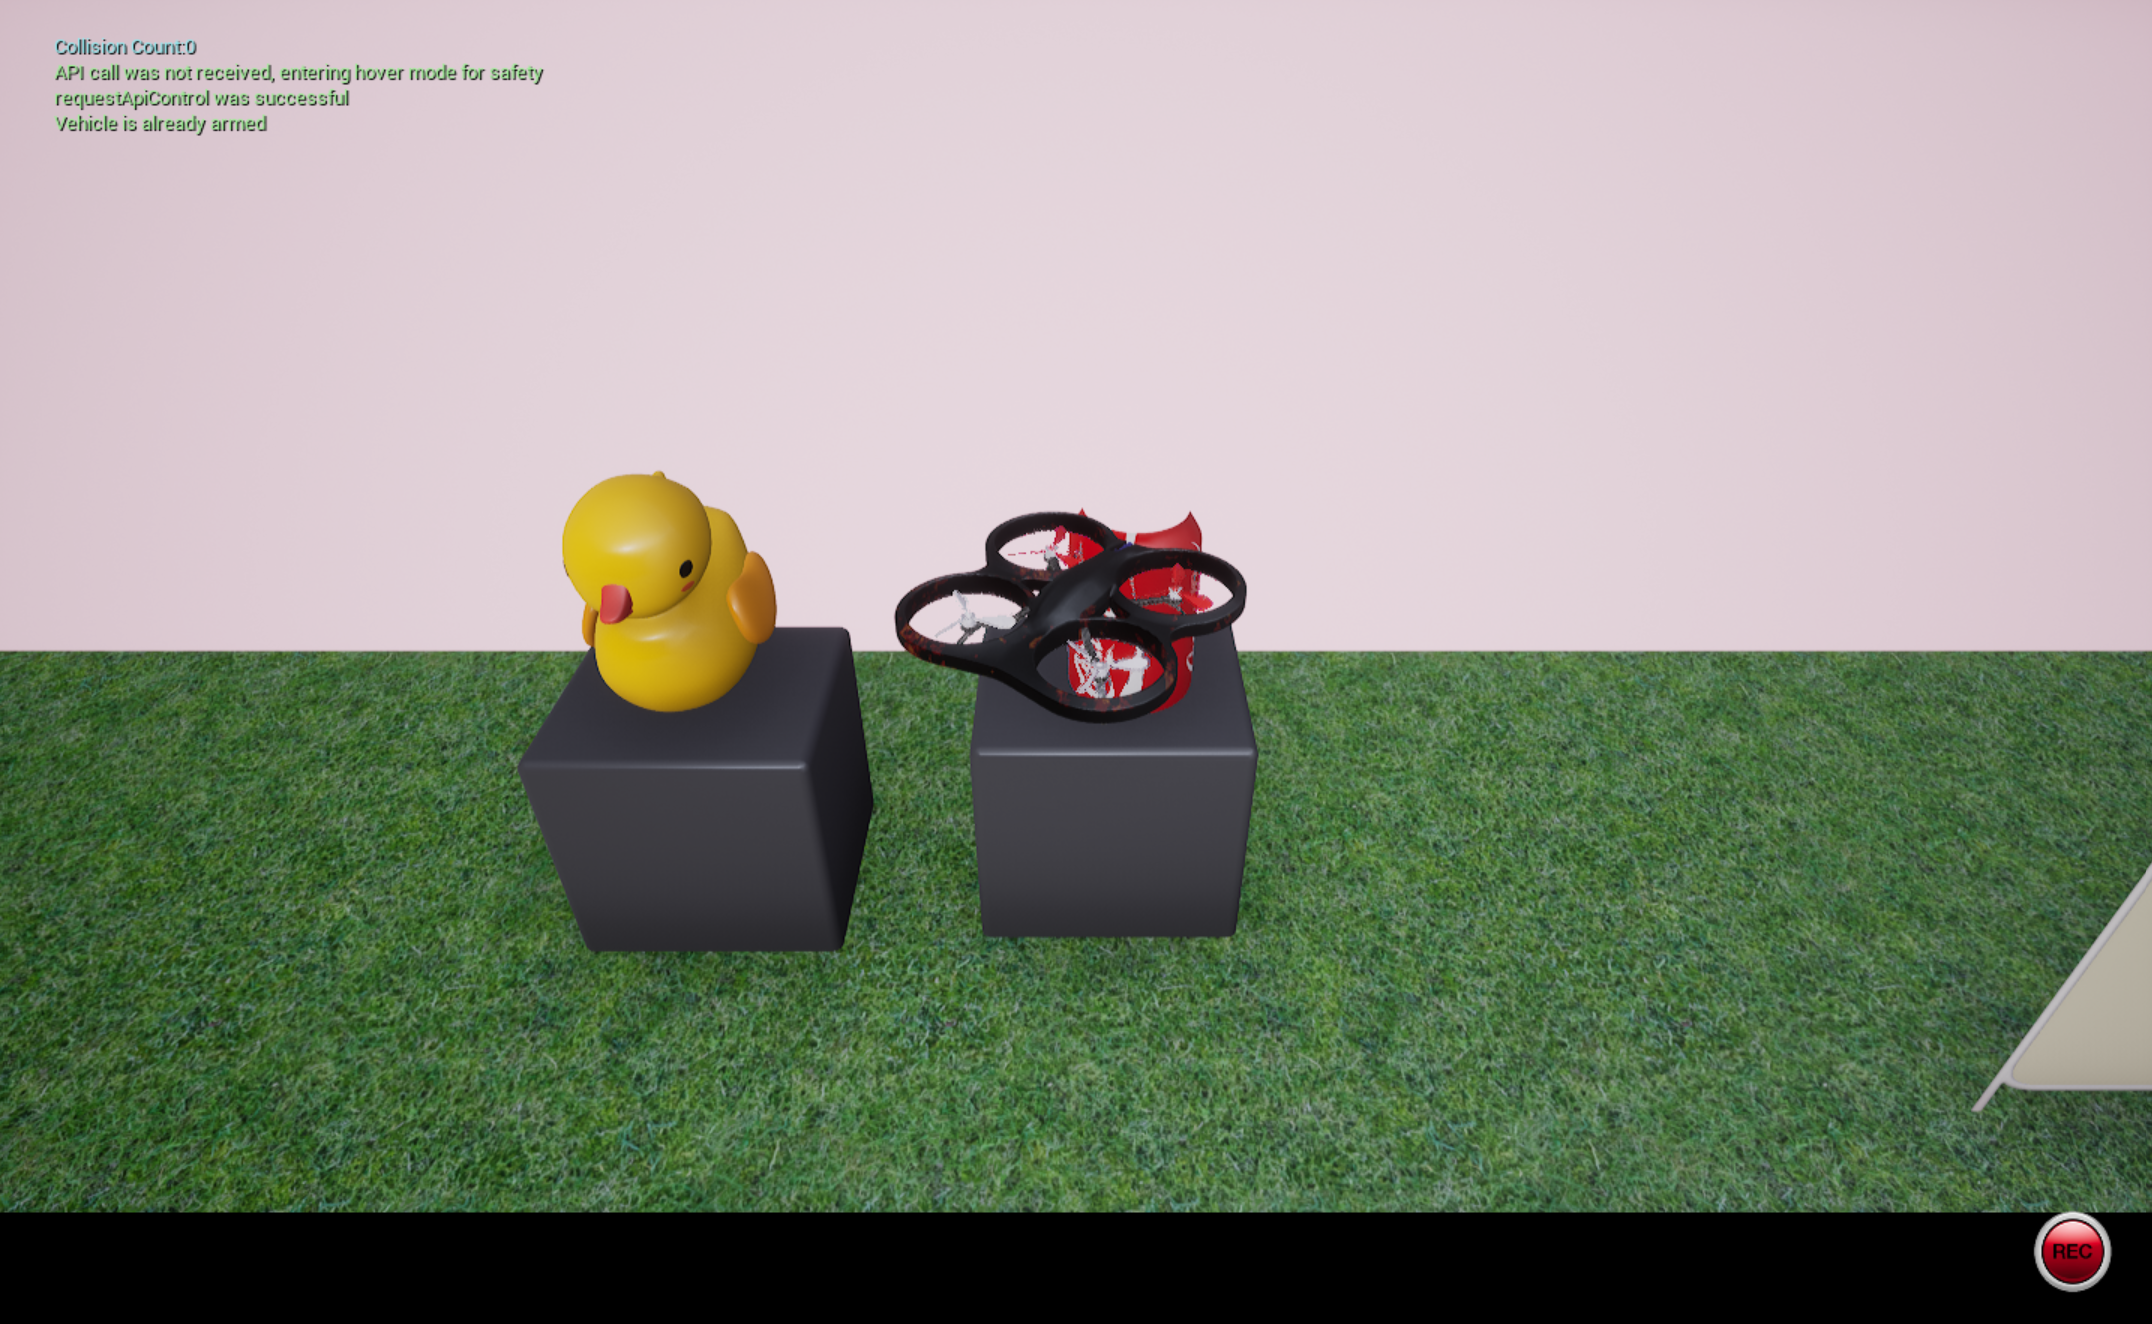
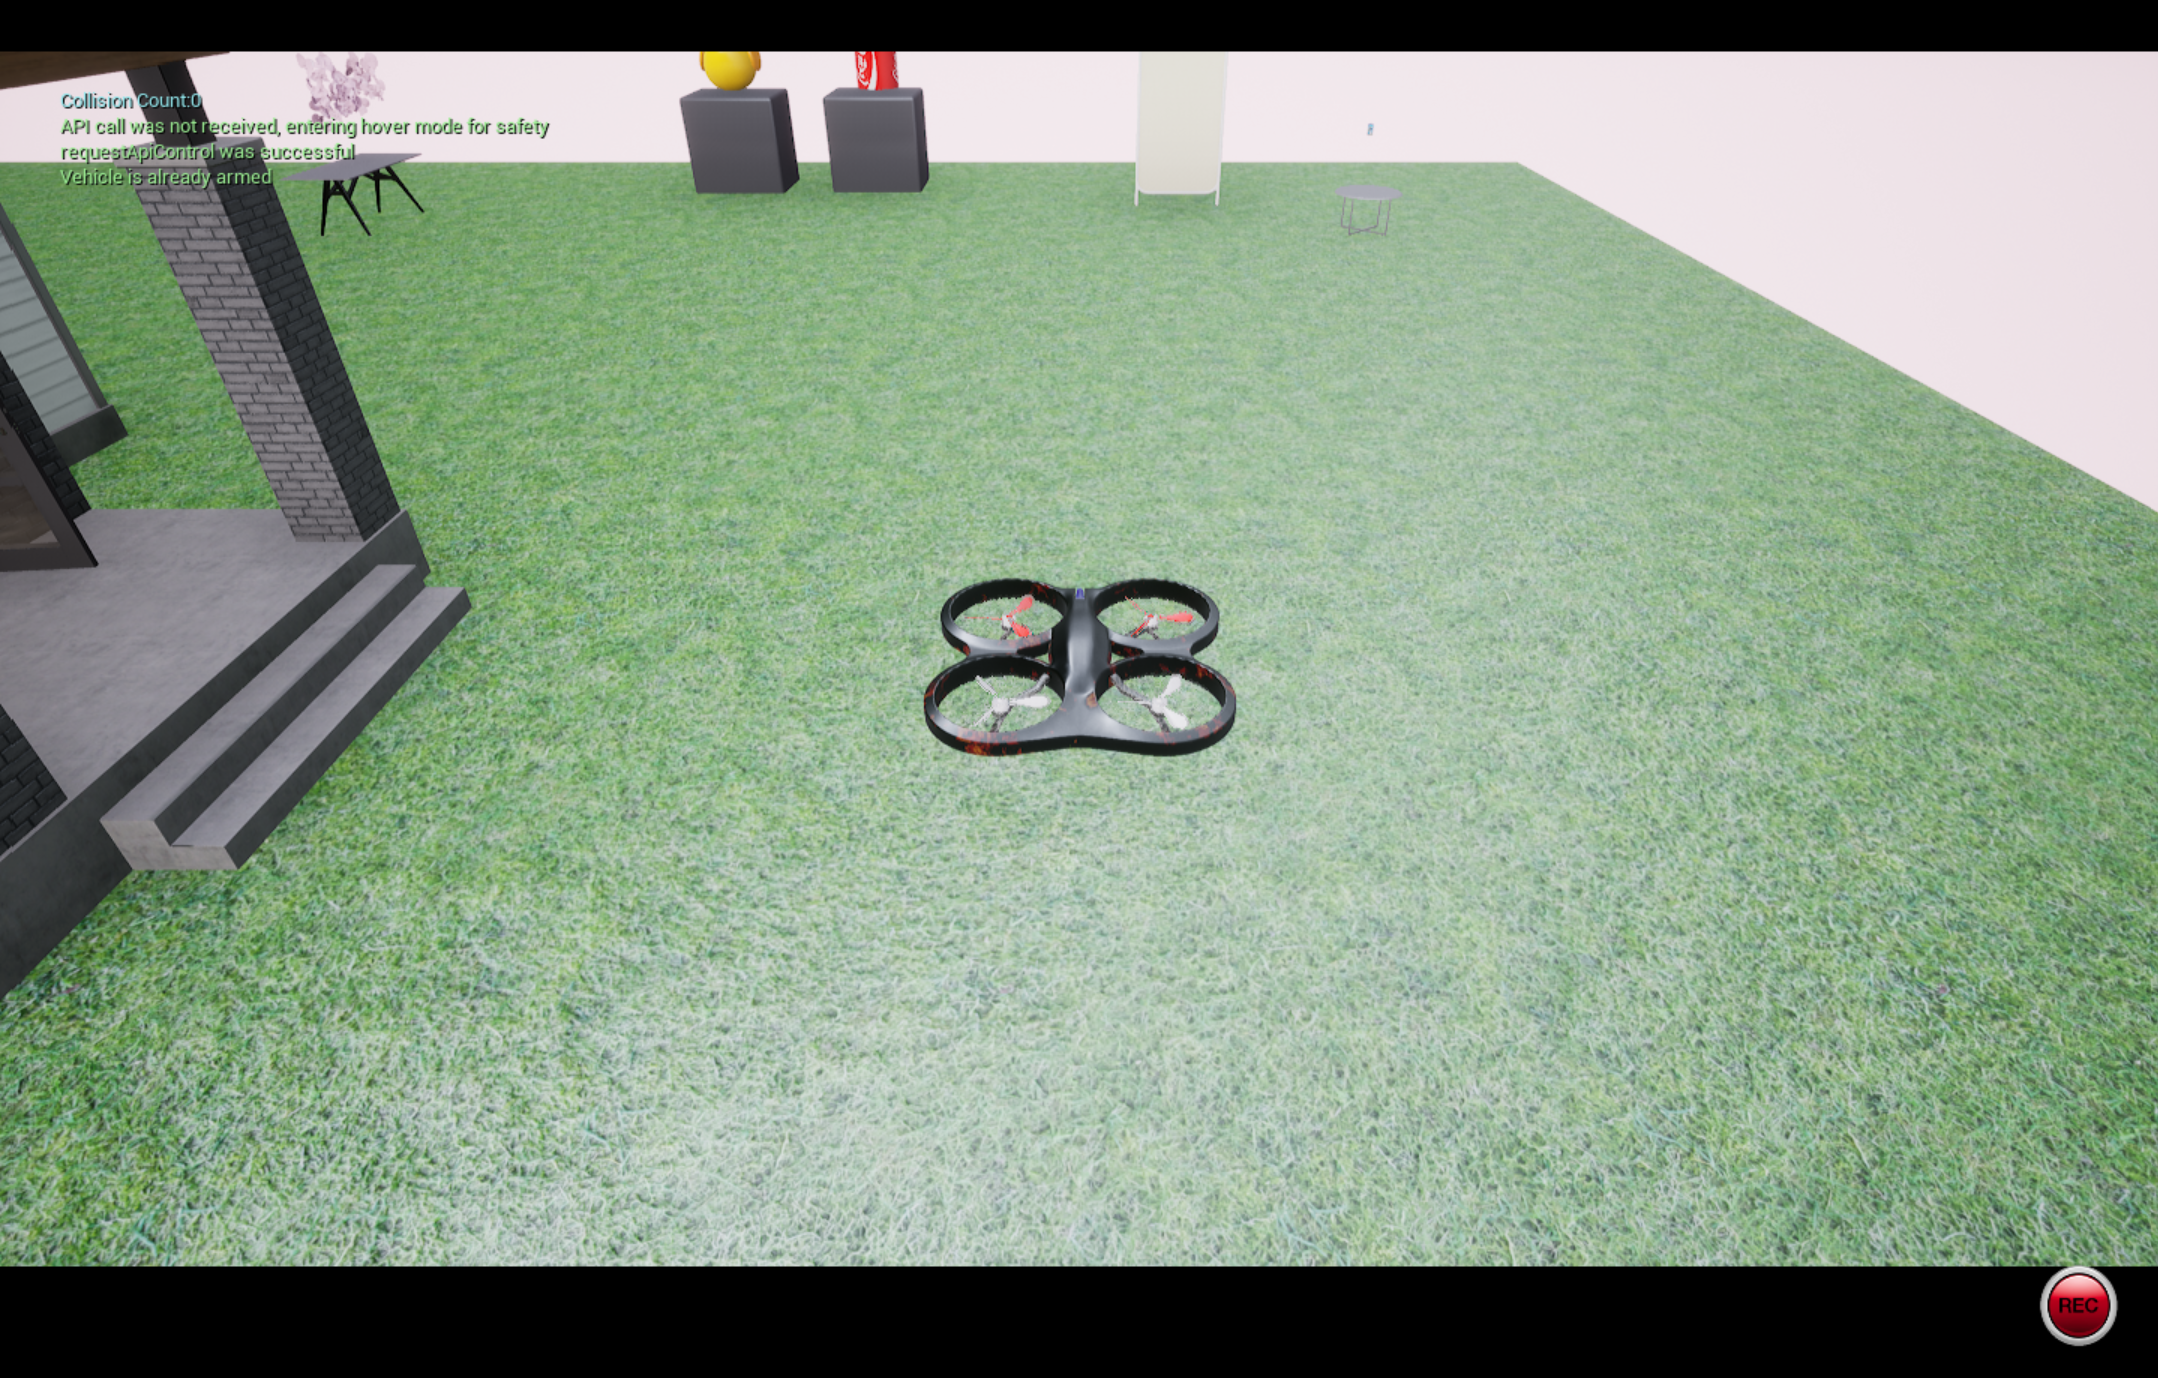
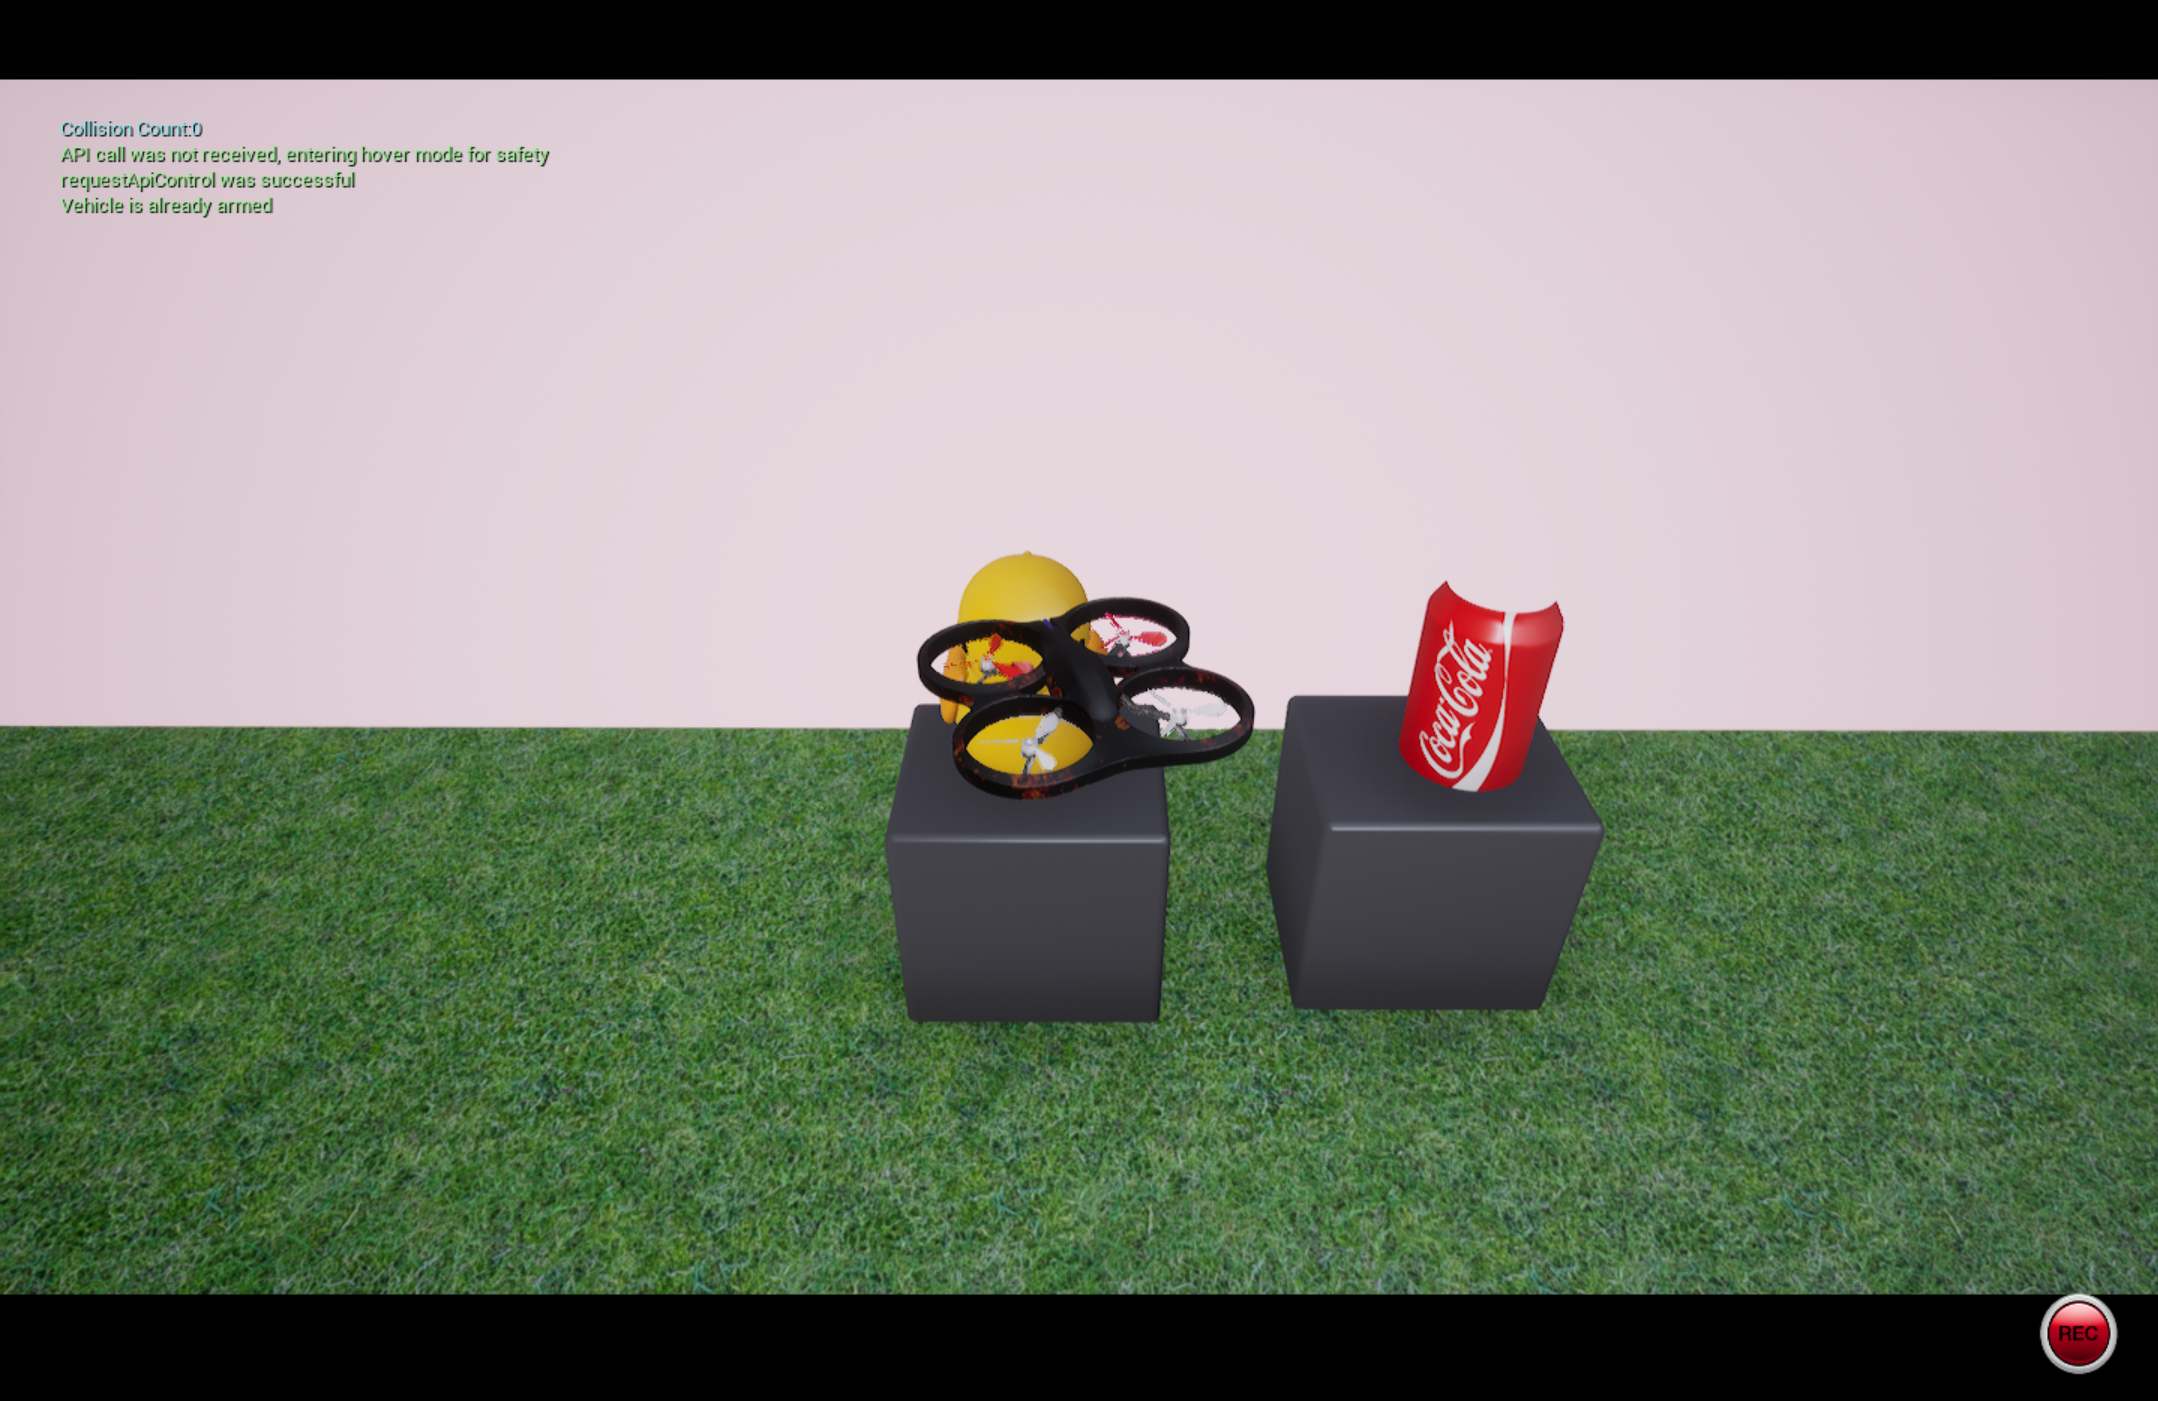
效果展示
起飞
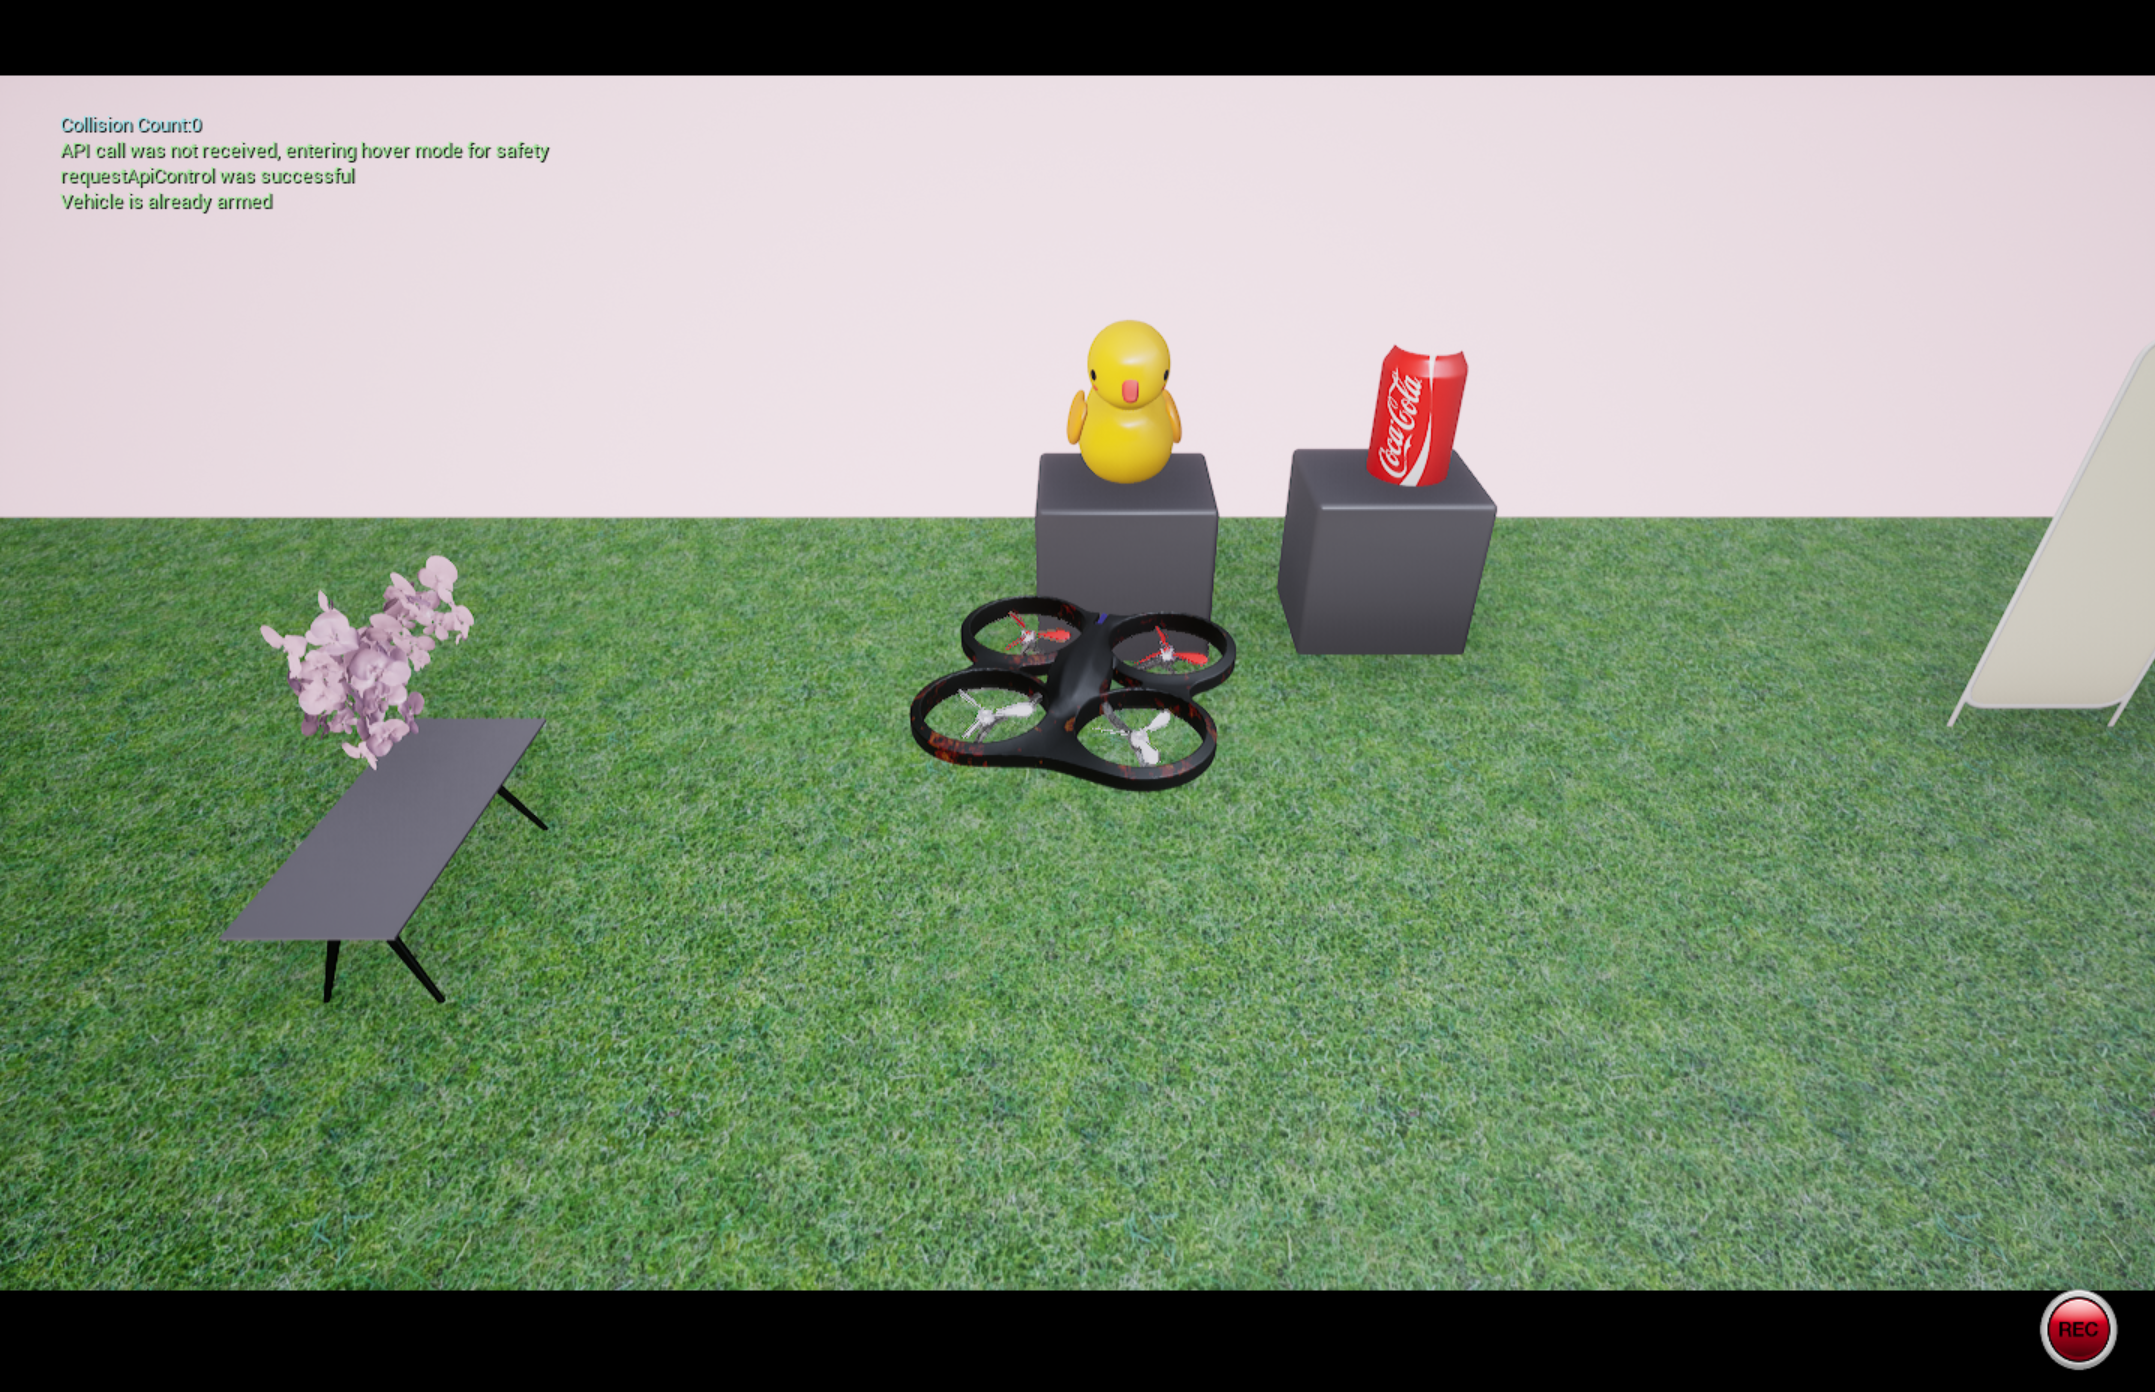
寻找yellow duck并飞到它的面前
后退3米
寻找coca cola并飞到它的面前